
Quick Answer
- Trim mistakes and unused footage before compressing.
- Use AI to remove pauses, noise and repetitive sections faster.
- Lower resolution or bitrate only as much as necessary.
- Preview the compressed result before deleting the original video.
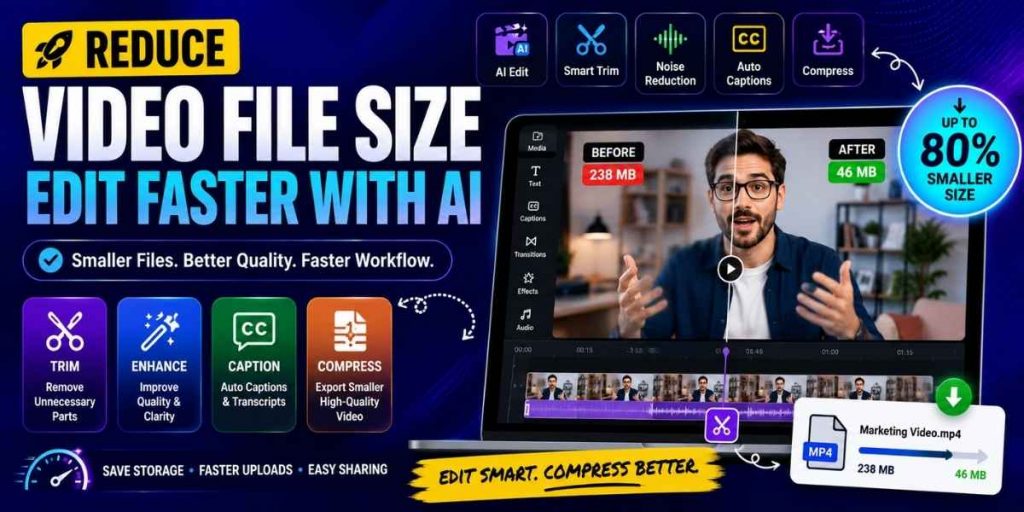
The fastest way to reduce video file size is not to compress every frame immediately. First remove footage viewers do not need, fix the recording and finalise captions. Then compress the approved version once.
What Makes a Video File So Large?
| Factor | Why it increases size | Possible adjustment |
|---|---|---|
| Duration | More recorded seconds require more video and audio data | Remove failed takes, silence and repetition |
| Resolution | 4K contains substantially more pixels than 1080p or 720p | Export at the resolution viewers actually need |
| Frame rate | More frames are stored for every second of video | Use a lower rate only when motion remains smooth |
| Bitrate | A higher data rate normally preserves more visual detail | Reduce it gradually and inspect text and motion |
| Codec and format | Compression efficiency and compatibility vary | Choose a practical, widely supported output such as MP4 |
Should You Trim, Convert or Compress the Video?
These operations solve different problems. Selecting the wrong one can waste time or reduce quality unnecessarily.
| Operation | What it changes | Use it when |
|---|---|---|
| Trim | Removes unwanted time from the recording | The video contains silence, mistakes or irrelevant sections |
| Remux | Changes the container without re-encoding compatible streams | You need MP4 compatibility but not a much smaller file |
| Compress | Re-encodes the video using a lower size or quality target | The approved video remains too large to upload, email or store |
Remove unused footage first with Flonnect’s lossless video trimming tool. It uses keyframe-based cuts so you can shorten compatible files without a complete re-encode.
How to Reduce Video File Size With a Faster AI Workflow
Begin with the original recording
Use the cleanest source available. Avoid editing a copy that has already been repeatedly downloaded, shared and compressed.
Let AI identify removable footage
Use the Flonnect AI Video Editor to detect pauses, filler content, weak sections and scene changes before making final cuts.
Clean the audio and visual presentation
Reduce distracting noise and apply only necessary brightness, colour or framing corrections. Enhancement should improve clarity—not hide a badly recorded source.
Finalise the transcript and captions
Generate searchable text with Flonnect’s AI transcription feature. Correct product names and timing after major video cuts are complete.
Compress the approved version
Open Flonnect’s online video compressor, select a quality preset and compare the estimated output size with the visual result.
Test the final export
Check small text, cursor movement, faces, transitions and speech on both desktop and mobile before replacing or deleting the original file.
Before and After: What a Better Edit Removes
| Before editing | After editing and compression |
|---|---|
| Long countdown and setup footage | Video starts close to the useful explanation |
| Repeated instructions and failed takes | One clear explanation remains |
| 4K export used for a simple support video | Resolution matches the actual viewing requirement |
| Oversized file is difficult to upload or share | Smaller MP4 remains clear enough for its intended use |
Which Compression Settings Should You Use?
| Video use | Practical resolution | What to protect |
|---|---|---|
| Software tutorial | 1080p when interface text is small | Menus, labels and cursor clarity |
| Customer support clip | 720p or 1080p | Readable steps with a manageable download |
| Talking-head update | 720p may be sufficient | Natural face detail and clear audio |
| Final marketing video | Match the publishing platform | Brand graphics, motion and text quality |
Do not optimise only for the smallest number
A tiny file is not useful if viewers cannot read interface labels, recognise faces or understand movement. Judge compression at the video’s real playback size.
Fast Caption, Trim and Compression Workflow
1. Record or import the highest-quality source.
2. Generate a transcript to identify repetition and silence.
3. Remove failed takes and unused sections.
4. Finalise captions after the major cuts.
5. Compress the approved video once.
6. Compare the original and final export side by side.
When subtitles must be added, extracted or removed separately, use Flonnect’s browser-based subtitle tools before creating the delivery copy.
What If You Need to Process Multiple Videos?
Applying different settings manually to dozens of files creates inconsistent quality and wastes time. Create one approved preset, test it on a representative file and then apply it to the remaining group.
Flonnect’s batch media processor supports multi-file operations, per-file progress and combined ZIP exporting for repetitive media workflows.
Common Video Compression Mistakes
- Compressing before editing: You spend processing time on footage that will later be deleted.
- Repeated re-encoding: Multiple lossy exports can gradually reduce quality.
- Reducing resolution too far: Interface text and small details may become unreadable.
- Ignoring audio: A smaller video still fails if speech becomes difficult to understand.
- Deleting the source too early: Keep the original until the delivery file has been approved.
Before-and-After AI Edit Checklist
□ Unused footage and long pauses are removed
□ The video reaches its main point faster
□ Captions match the final narration
□ Speech remains clear after compression
□ Interface text remains readable
□ Motion does not look blocky or uneven
□ The output fits the upload or sharing limit
□ The original file is safely preserved
Frequently Asked Questions
How can I reduce video file size quickly?
Remove unused footage, select an appropriate resolution and export the final version using a video-compression preset.
Can AI reduce video file size?
AI can speed up trimming, scene selection and cleanup. The final size reduction normally comes from shortening or re-encoding the approved video.
Does compressing a video reduce quality?
Lossy compression can reduce quality. Careful settings may make the difference difficult to notice at the intended viewing size.
Should I trim or compress a video first?
Trim first. This avoids spending time re-encoding footage that will not appear in the final video.
Is 720p enough for a screen recording?
It may be enough for simple demonstrations. Use 1080p when the recording contains small text, detailed dashboards or narrow interface controls.
Flonnect AI Video Editor
Edit the unnecessary parts before compressing the final video.
Use AI-assisted trimming, captions, audio cleanup and visual corrections to create a shorter, cleaner video—then reduce its delivery size.