Creator Workflow Guide
Quick Answer
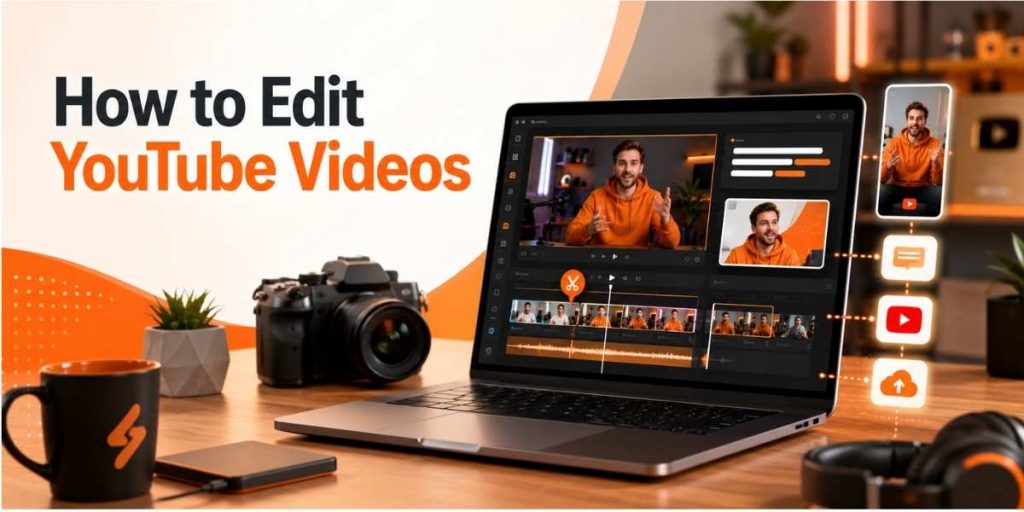
To edit YouTube videos well, start with a clear script, remove weak sections first, improve audio, add captions, create a strong thumbnail, cut short clips for YouTube Shorts, and export the final version in a clean format. Beginners can use a simple YouTube video editor, while teams can speed up the process with Flonnect AI Video Generator to turn ideas, scripts, and content outlines into faster video workflows.
Editing is where a normal video becomes watchable. A raw screen recording, product demo, tutorial, podcast clip, or talking-head video may have useful information, but users will leave quickly if the video feels slow, confusing, noisy, or too long. That is why learning how to edit YouTube videos is one of the most important skills for creators, marketers, educators, and social media teams.
The good part is that YouTube editing does not have to feel complicated. You do not need a studio setup on day one. You need a clean workflow: plan the video, record clearly, cut the boring parts, improve sound, add captions, create a thumbnail, repurpose clips into Shorts, and publish with a title that matches the viewer’s intent.
Creator note: The best editing is not about adding 50 effects. It is about helping the viewer understand faster, stay longer, and take the next step without confusion.
Table of Contents
The 7-Part YouTube Editing Map
Before opening any YouTube video editor, think of editing as a sequence. Each stage has one job. If you follow this order, your video becomes easier to create and easier to watch.
1. Hook
Start with the problem, result, or promise. Do not waste the first 10 seconds.
2. Clean cuts
Remove pauses, repeated lines, mistakes, and sections that do not help the viewer.
3. Audio polish
Balance voice, background music, and screen sound so the message is easy to hear.
4. Visual clarity
Zoom into important steps, add labels, and remove distracting screen elements.
5. Captions
Add captions for accessibility, silent viewing, Shorts, tutorials, and social clips.
6. Thumbnail
Create a thumbnail that clearly shows the video’s main idea or outcome.
7. Repurpose
Turn the strongest moments into YouTube Shorts, Reels, or LinkedIn clips.
Before You Edit: Fix the Raw Video First
A good edit starts before editing. If the recording is unclear, noisy, or unplanned, even the best youtube video maker cannot fully save it. Creators and teams should prepare the video before recording so the editing process becomes faster.
Pre-edit checklist
- Write the video goal in one sentence.
- Create a short outline before recording.
- Record in a quiet place and test your microphone.
- Keep your desktop clean if it is a screen recording.
- Record extra pauses between sections so cutting is easier.
- Save all raw files in one folder before editing.
This is especially useful for teams creating tutorials, SaaS explainers, customer education videos, and product walkthroughs. The cleaner the recording, the faster the editing.
How to Edit YouTube Videos: A Simple Workflow
Here is a practical editing workflow you can use for almost any YouTube video, whether it is a tutorial, vlog, demo, review, explainer, or screen recording.
- Watch the full raw video once: Do not start cutting immediately. Watch once and mark the best parts, weak parts, and moments that need captions or zoom.
- Cut the boring parts first: Remove long pauses, repeated words, mistakes, off-topic lines, and anything that slows down the video.
- Make the first 15 seconds stronger: Add the clearest promise, outcome, or question at the start. Viewers should instantly know why they should continue.
- Improve audio: Adjust voice volume, remove background noise where possible, and keep background music low.
- Add visual support: Use zoom, arrows, screen labels, examples, and simple text to explain important parts.
- Add captions: Captions help viewers follow the video on mute and improve accessibility.
- Create a thumbnail: Design a thumbnail that supports the video title and makes the topic obvious.
- Export and review: Watch the final video before uploading. Check audio, cuts, text, thumbnail, and the final call to action.
Small creator tip: Do not over-edit your first 20 videos. Publish consistently, learn from retention, and improve one editing skill at a time.
Use Flonnect to Speed Up the Creator Workflow
For creators and social media teams, the biggest challenge is not only editing. It is moving from idea to video faster. Flonnect helps by supporting AI-powered video creation, screen recording, video workflow planning, and creator-friendly content production.
| Creator Need | How Flonnect Helps | Best For |
|---|---|---|
| Create videos faster | Use Flonnect AI Video Generator to convert ideas and scripts into video workflows. | Creators, marketers, educators |
| Record tutorials | Capture your screen, browser tab, microphone, and webcam for explainers and demos. | SaaS teams, trainers, YouTubers |
| Make thumbnails | Use Flonnect AI Thumbnail Generator to create clear video covers. | YouTube channels, Shorts creators |
| Repurpose content | Turn long videos into shorter clips, social posts, and platform-ready ideas. | Social media managers, teams |
This is helpful when your team needs to create YouTube videos repeatedly instead of editing each video from scratch. A structured workflow saves time and keeps your channel more consistent.
Turn One Video into YouTube Shorts
A smart YouTube Shorts creator does not always start from zero. You can take one long video and turn it into multiple Shorts by finding the most useful, surprising, or emotional moments.
Shorts from tutorials
Cut one quick tip, one mistake, or one before-after result from a longer tutorial.
Shorts from podcasts
Find one strong quote, one story, or one opinion that can stand alone.
Shorts from product demos
Show one feature, one use case, or one result in a fast vertical format.
For Shorts, keep the intro short, use captions, remove dead space, and make every second useful. If the viewer needs too much context, the clip may work better as a full YouTube video.
Editing for a Faceless YouTube Channel
A faceless YouTube channel can work well for tutorials, software explainers, list videos, educational content, product walkthroughs, and niche commentary. In this format, editing becomes even more important because the viewer cannot rely on facial expressions to stay engaged.
Faceless video editing formula
- Use a clear voice-over or captions.
- Add screen recordings, examples, slides, or AI visuals.
- Use light motion so the screen does not feel static.
- Add chapter-like sections for longer videos.
- Show proof, examples, or steps instead of only narration.
For a faceless workflow, Flonnect can support screen recordings, AI video generation, thumbnail creation, and repurposing. This helps creators publish more consistently without needing to appear on camera every time.
YouTube Publishing Checklist After Editing
Editing is only half the job. Before publishing, your title, thumbnail, captions, and description should clearly match what the video delivers. This helps users decide whether the video is worth clicking and watching.
- Put the main promise or topic near the beginning of the title.
- Make the thumbnail clear even on mobile.
- Add captions or review auto-generated captions before publishing.
- Write a simple description with important links and context.
- Add chapters if the video is long and section-based.
- Create at least 2–3 Shorts from the strongest moments.
- Check the final video on mobile before promoting it.
A clear publishing workflow helps creators and teams get more value from every video. Instead of thinking only about editing, think about the full path: idea, script, recording, editing, captions, thumbnail, Shorts, and distribution.
Common YouTube Editing Mistakes to Avoid
| Mistake | Why It Hurts | Better Fix |
|---|---|---|
| Long intro | Viewers may leave before the value starts. | Start with the result, question, or promise. |
| Too many effects | Effects can distract from the message. | Use effects only when they improve clarity. |
| Poor audio | Bad sound makes even useful videos hard to watch. | Clean voice volume and reduce background noise. |
| No captions | Silent viewers and accessibility needs are missed. | Add or review captions before publishing. |
| Weak thumbnail | The video may not get clicked even if it is useful. | Use a clear visual, short text, and one main idea. |
Create YouTube videos faster with Flonnect
Use Flonnect AI Video Generator to move from script to video faster, create cleaner creator workflows, and support your publishing process with AI-powered tools.
Final Takeaway
Learning how to edit YouTube videos is less about becoming a professional editor and more about building a repeatable workflow. If your video has a strong hook, clean cuts, clear audio, helpful visuals, captions, and a good thumbnail, it already has the foundation of a watchable YouTube video.
Creators can start simple. Teams can go further by using Flonnect to speed up recording, AI video creation, thumbnails, and publishing workflows. Whether you are building a faceless YouTube channel, creating Shorts, or editing educational content, the goal is the same: make the video easier to understand, easier to watch, and easier to publish consistently.
FAQs
How do I edit YouTube videos as a beginner?
Start by removing mistakes, long pauses, and weak sections. Then improve audio, add captions, create a clear thumbnail, and export the final video. Beginners should focus on clarity before advanced effects.
What is the best workflow to create YouTube videos faster?
Use a repeatable workflow: idea, outline, script, recording, rough cut, audio cleanup, captions, thumbnail, Shorts, and publishing. Flonnect can help creators and teams speed up AI video creation, screen recording, and thumbnail workflows.
Can I create videos for a faceless YouTube channel?
Yes. A faceless YouTube channel can use screen recordings, voice-over, captions, slides, AI visuals, product demos, and stock clips. The key is to keep the editing clear and visually active so viewers stay engaged.
How do I turn a YouTube video into Shorts?
Find the strongest moments from the long video, cut them into short vertical clips, add captions, remove dead space, and make the first few seconds clear. Tutorials, podcasts, demos, and list videos are good sources for Shorts.
Do YouTube videos need captions?
Captions are strongly recommended because they help viewers understand the video in noisy places, on mute, or when the audio is unclear. Captions also improve accessibility and make Shorts easier to follow.